CSS - Basics #
Cascading Style Sheets, or CSS for short, is used to customize the appearance of HTML elements without changing their functionality.
For example, the appearance of a title or button can be changed.
In the example, 2 buttons are created, but only one button is changed using CSS.
If a class has been assigned to the HTML element, the element can be selected and visually changed using CSS. This class then serves in CSS as a so-called Selector:
An overview of all CSS selectors can be found here: https://www.w3schools.com/cssref/css_selectors.asp
					<!DOCTYPE html>
<html>
  <head>
    <style>
      .button {
        background-color: #4caf50;
        color: white;
        padding: 15px 32px;
        text-align: center;
      }
    </style>
  </head>
  <body>
    <h2 class="betterdocs-content-heading" id="1-toc-title">CSS Buttons <a href="#1-toc-title" class="batterdocs-anchor" data-clipboard-text="https://govie-editor.de/en/help/css-custom-design/#1-toc-title" data-title="Copy URL">#</a></h2>
    <button>Default Button</button>
    <button class="button">Styled Button</button>
  </body>
</html>
You are currently viewing a placeholder content from Default. To access the actual content, click the button below. Please note that doing so will share data with third-party providers.
More InformationCSS in Govie Editor #
External CSS editor #
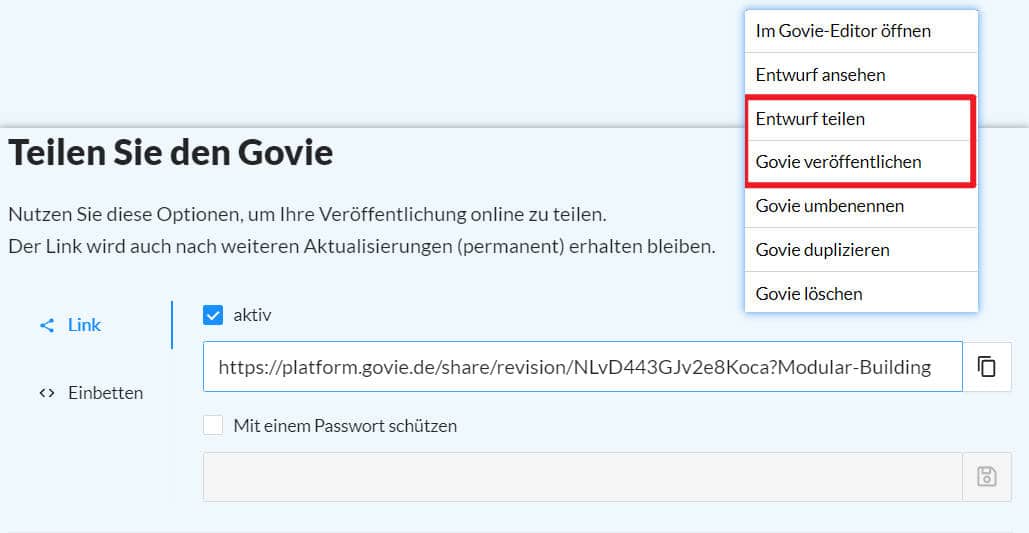
For a short time now, there is an own CSS editor, with which the CSS can be entered much more comfortably and tested live on the Govie. However, this requires the govie to be shared or published beforehand to create a share link. This sharelink can then be inserted in the CSS editor. At the beginning, one of the templates can be selected to see which property the respective CSS effect changes.
How do I find the elements I want to change with CSS? #
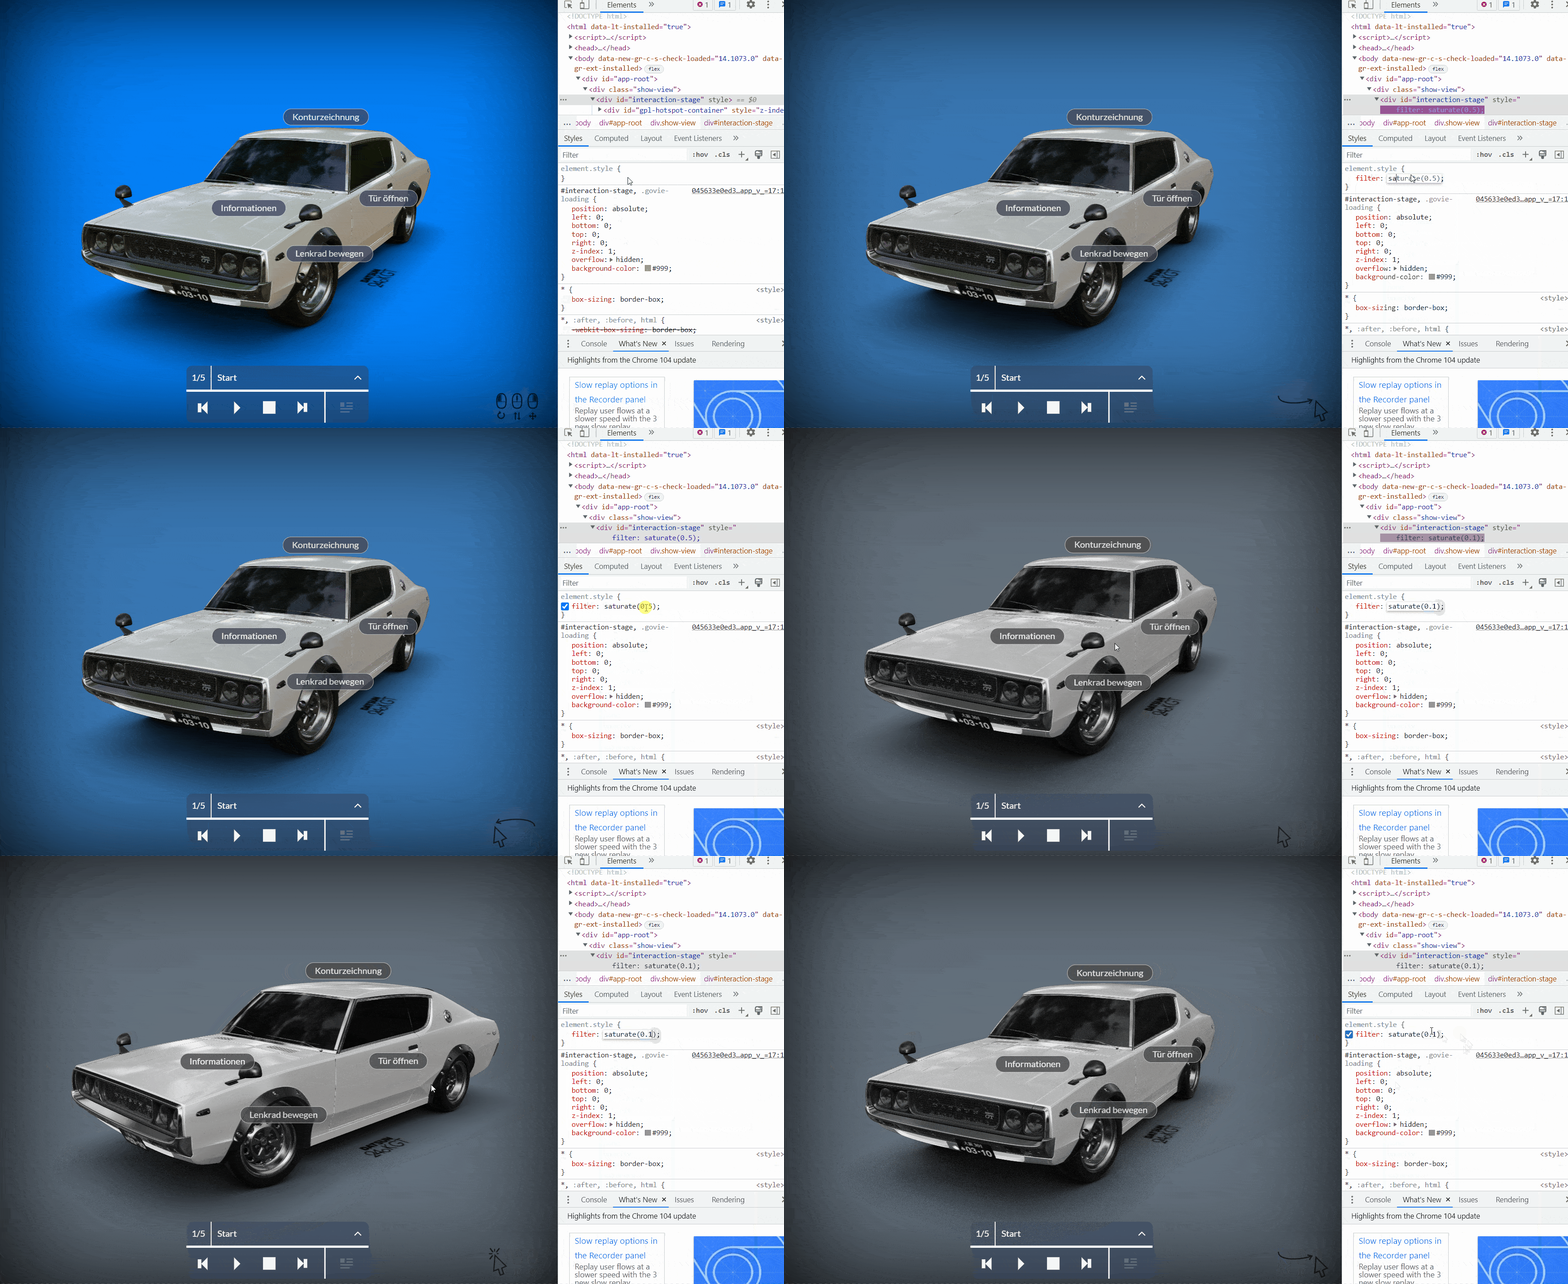
First of all, press F12 to open the developer console. Then click on the viewport with the select element function. This leads to the outer container DIV element.
The ID for the container the canvas sits in is container.
So you can easily address it via #container and change the background with #container {background:blue} , for example.
How can I replace the logo? #
Can I change the foreground or background? #
Image editing - CSS as post effect #
Images can also be manipulated via CSS filters without having to switch back to Photoshop. However, some of the operations are very computationally intensive because they are performed every frame.
					filter: saturate(3);
filter: grayscale(100%);
filter: contrast(160%);
filter: brightness(0.25);
filter: blur(3px);
filter: hue-rotate(180deg);
Animated labels #
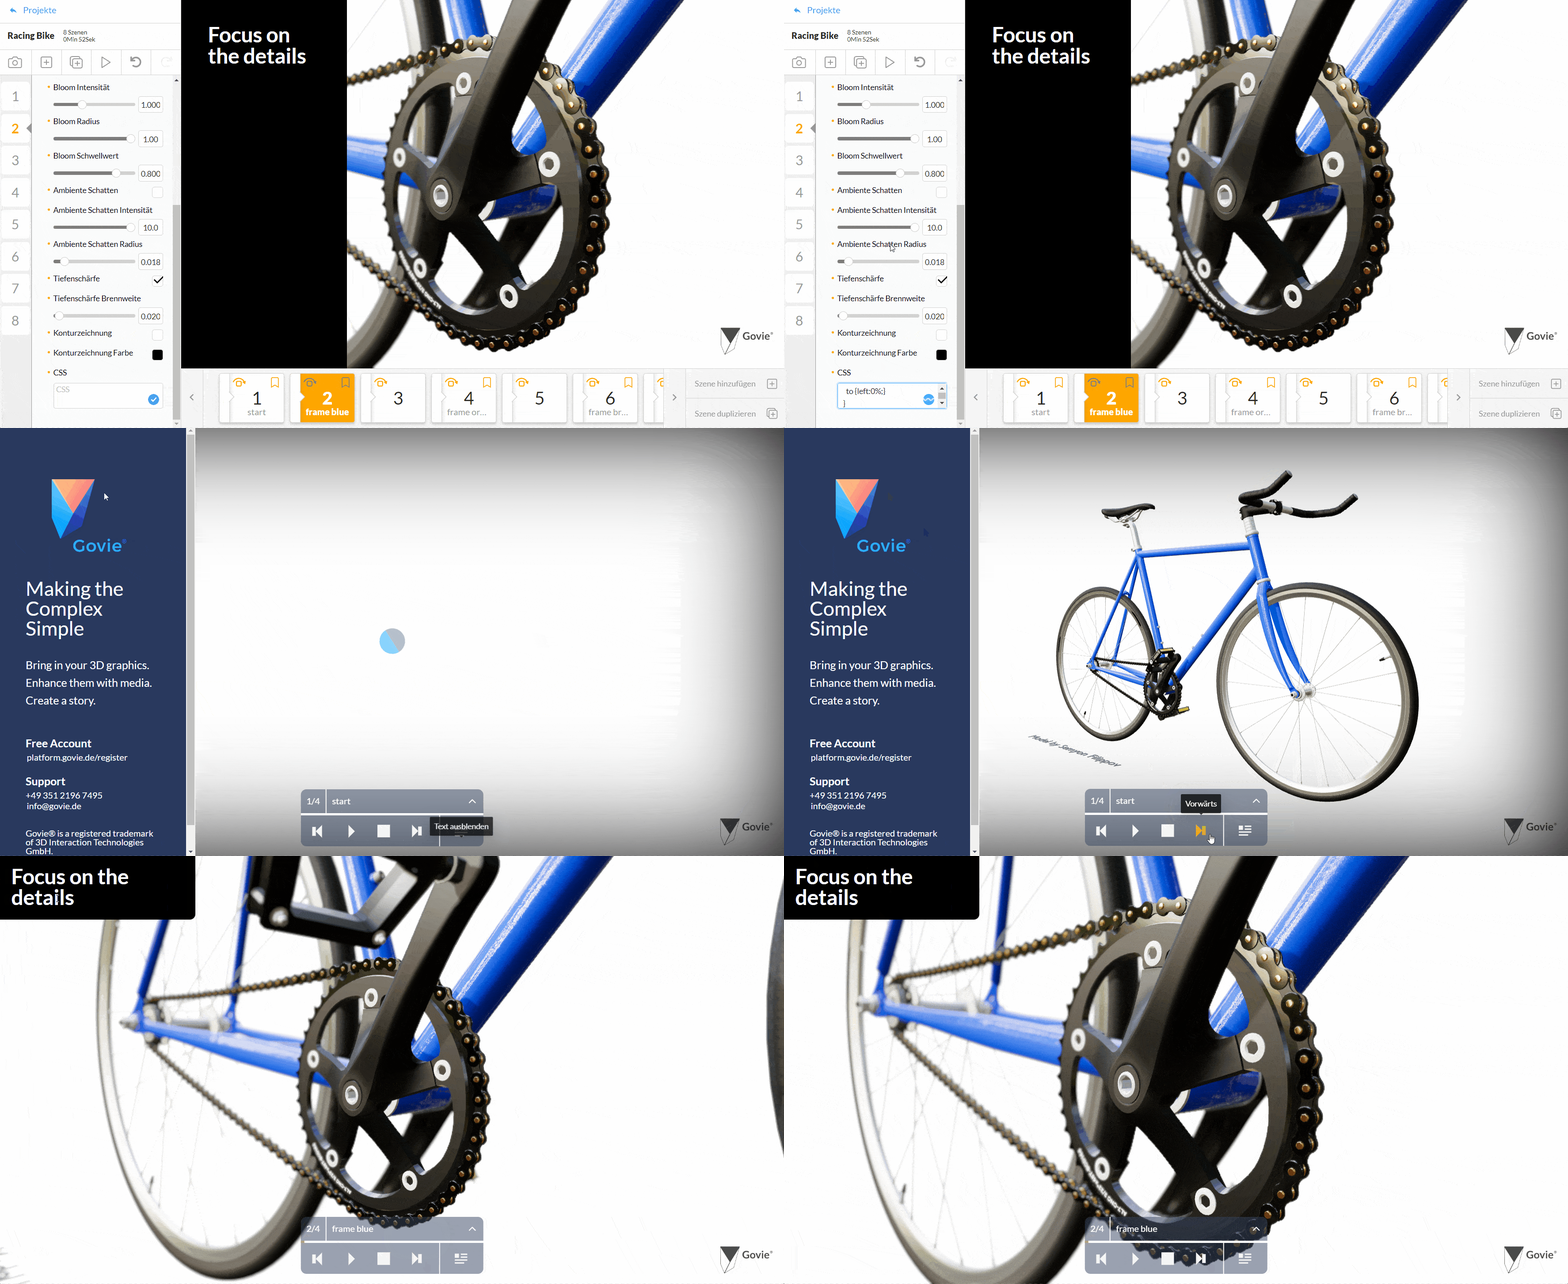
Keyframes can be used to create animations in CSS. This animation can then be attached to any element using the animation property. In this example, the 2D media area is moved out from left to right using CSS as soon as the respective slide is clicked.
					.DraftEditor-root {
    padding: 12px !important;
}

.rte-content {
    height: auto !important;
    position: relative !important;
    border-radius: 0px 0px 10px 0px;
    animation: moveright 1s forwards;
}

@keyframes moveright {
    from {left: -100%;}
    to {left:0%;}
}


