Blender Add-ons
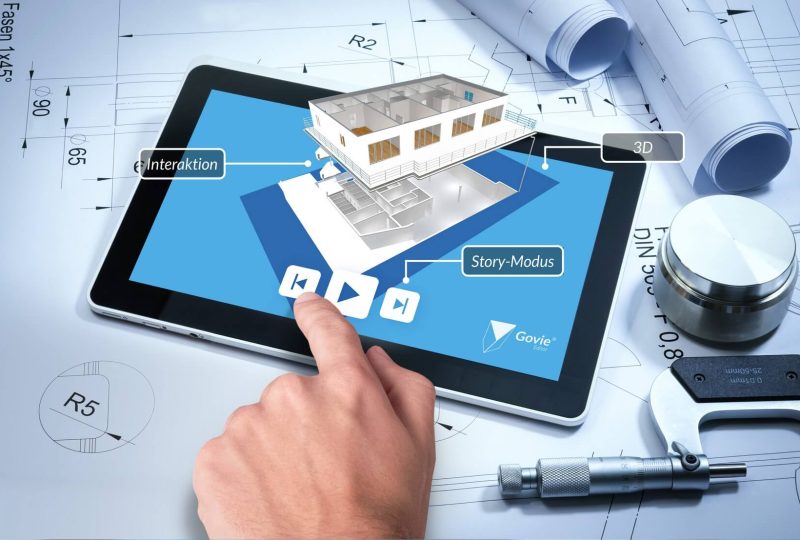
To fully exploit the potential of the Govie Editor, two Blender add-ons have been developed.
- Live preview for GLB export
- Define visibility of objects
- Animation overview for naming and organization
- Annotation overview for quick text editing
- Conversion of particle systems to animation
- Check objects for mesh errors and clean them up
- Simplified access to export settings
- Dynamic scaling of textures
- Conversion of any node setup to PBR materials
- UV tools for multi-UV layer editing
- Creation of AO and lightmaps
- Cleanup tools for mesh, material and texture cleanup
Blender Installation
For the use of the add-ons the software Blender is required
-
click on the following link to download Blender:
Download Blender -
after downloading, run the file and follow the installation instructions
-
If Blender has been installed before, you have the additional possibility to take over existing settings.
Batch installation of the
Add-ons
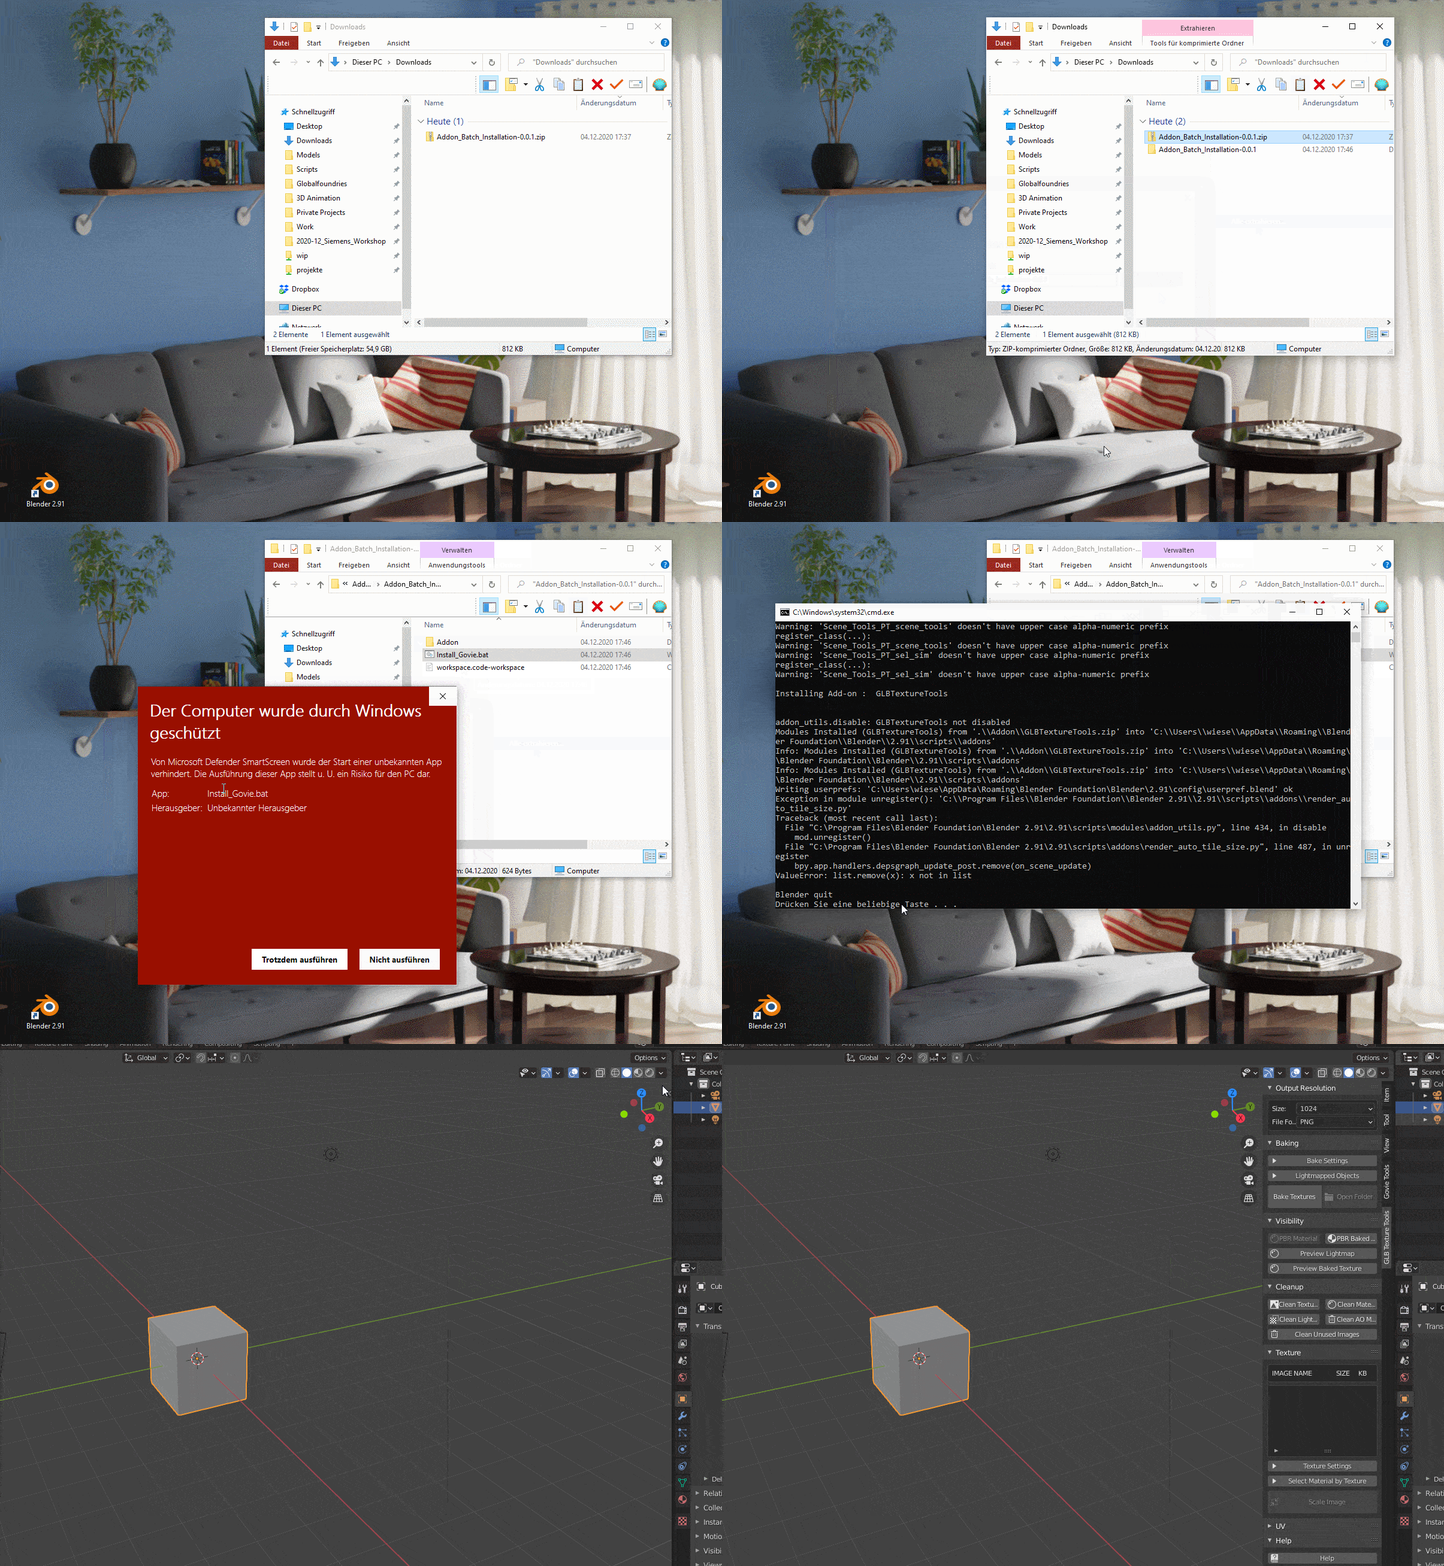
To have the add-ons installed automatically, we have prepared a package for them.
- download and unpack the following package :
Add-on Auto Installation -
after a double click on the file Install_Govie.bat the add-ons will be installed automatically
-
after a start of Blender the entries GovieTools and GLBTextureTools appear in the Properties Panel (N-key)
-
should there be a problem with the auto-installation , the add-ons can still be installed separately via Blender
Why Govie Editor
-
free use with free account
-
Create 3D application without programming knowledge
-
Expanding your own portfolio with additional services
-
No additional external partner necessary
-
Less overhead due to communication and coordination rounds
-
we develop, you produce
Govie Tools
You are currently viewing a placeholder content from YouTube. To access the actual content, click the button below. Please note that doing so will share data with third-party providers.
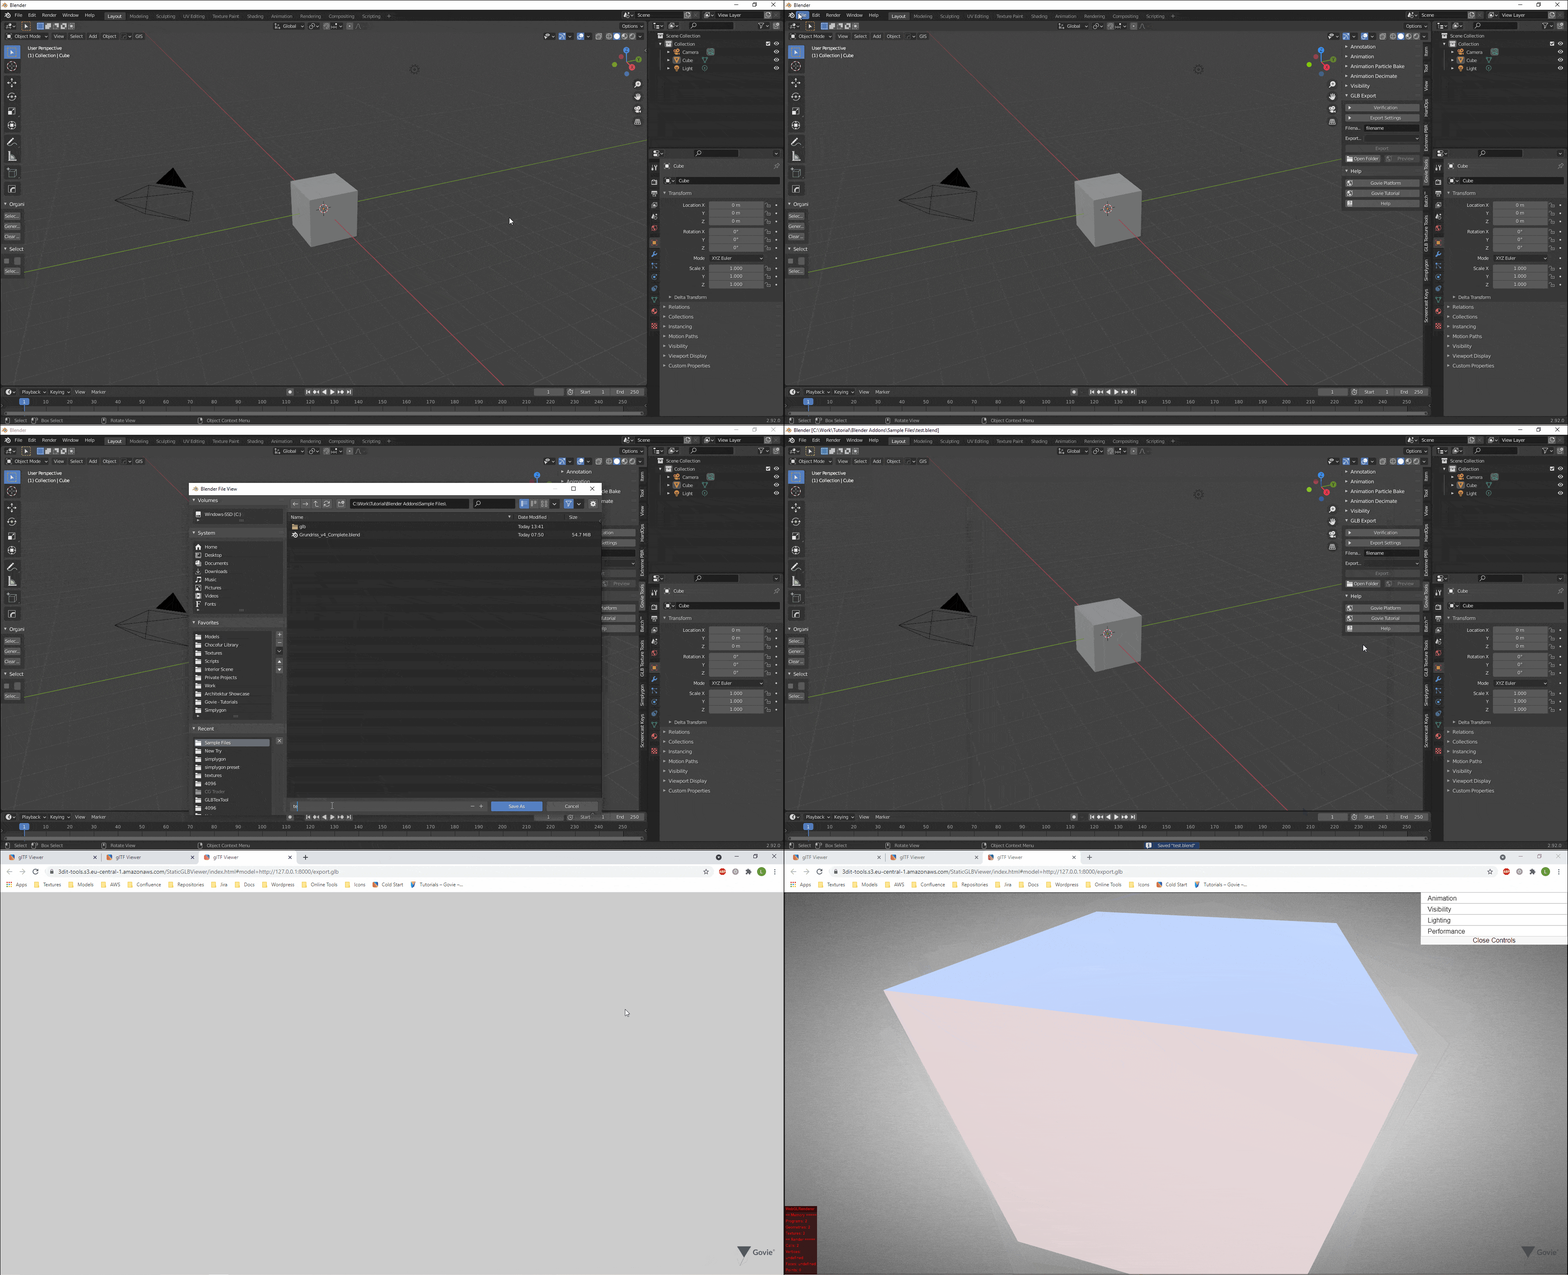
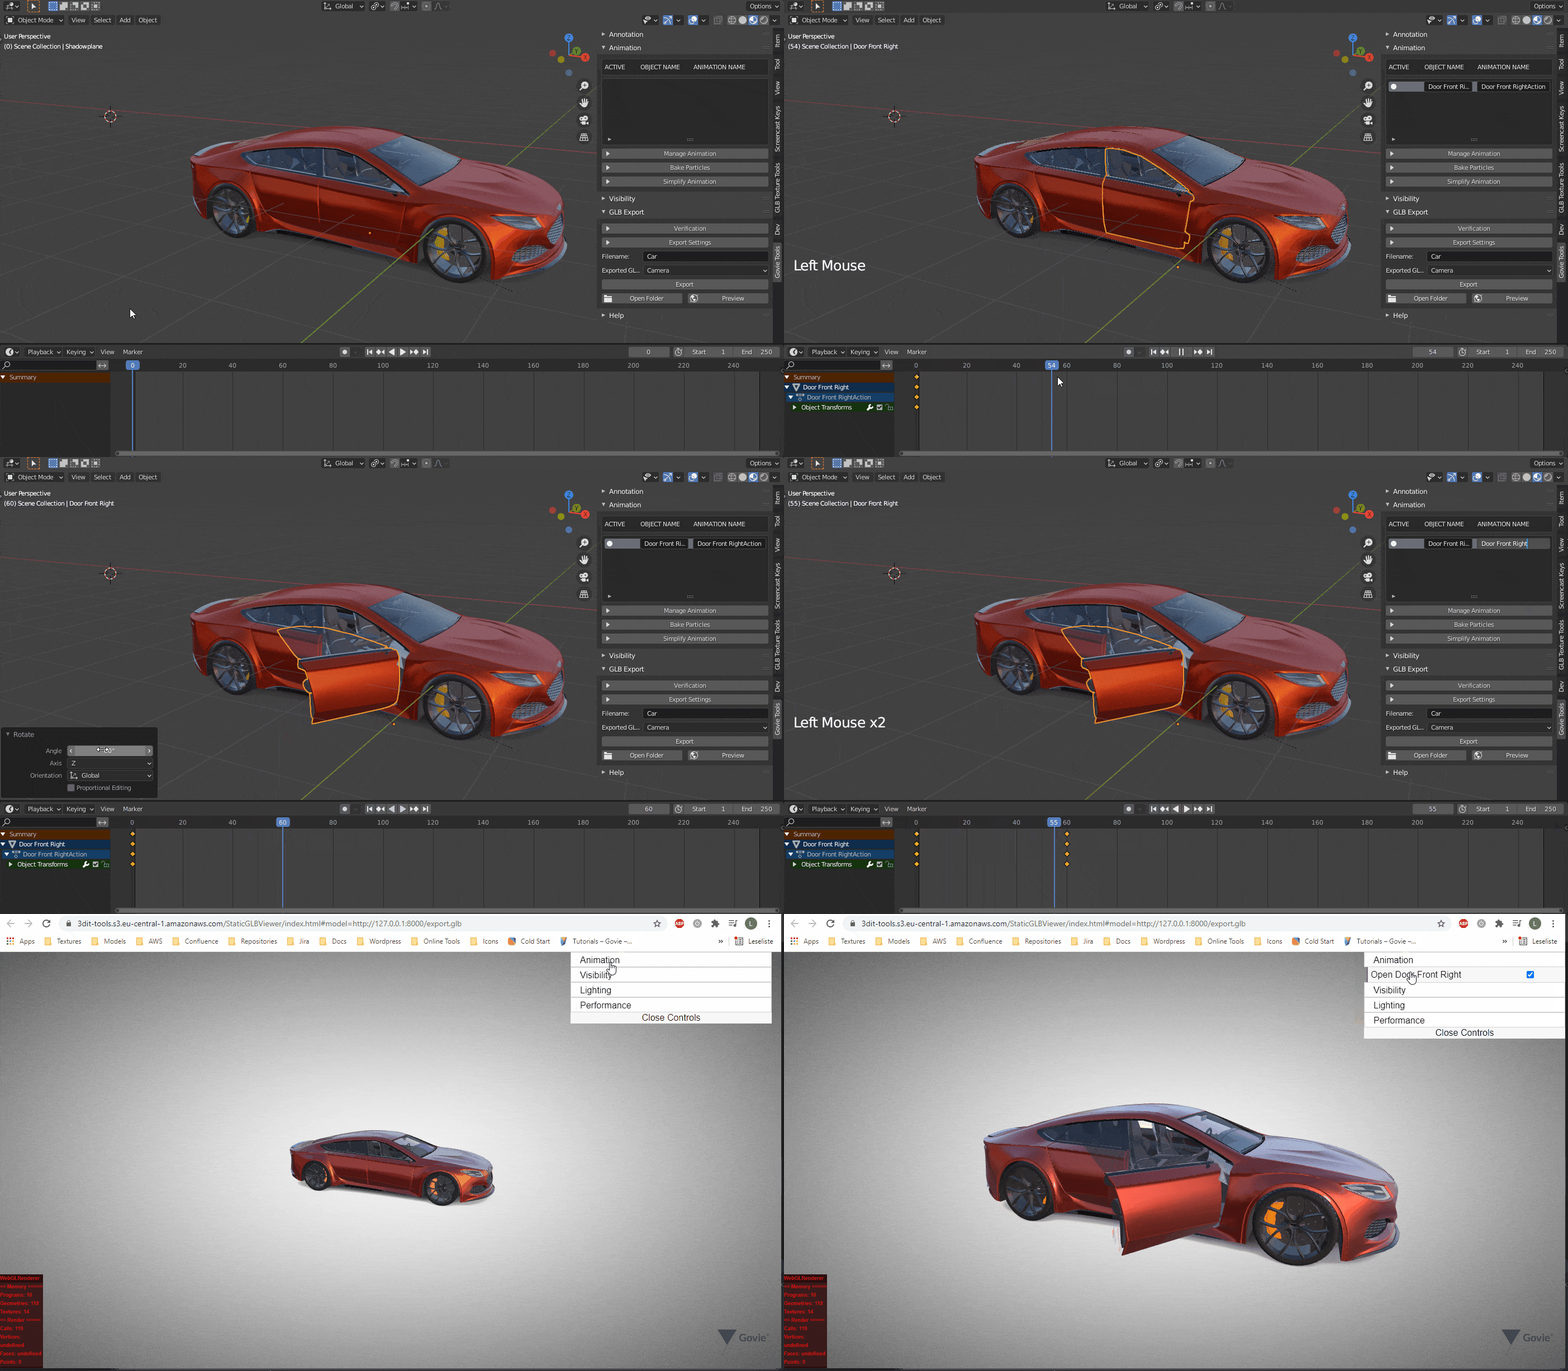
More InformationThe Quick Export function, including preview, allows the model to be reviewed without having to upload it to the Govie platform each time.
Preview
-
to be able to use the export function, the current blend file must be saved
-
now the export button can be clicked, which exports the model to the GLB folder
-
after exporting the GLB, the file name appears in the drop-down list
-
by clicking on Preview the model can now be viewed in the browser
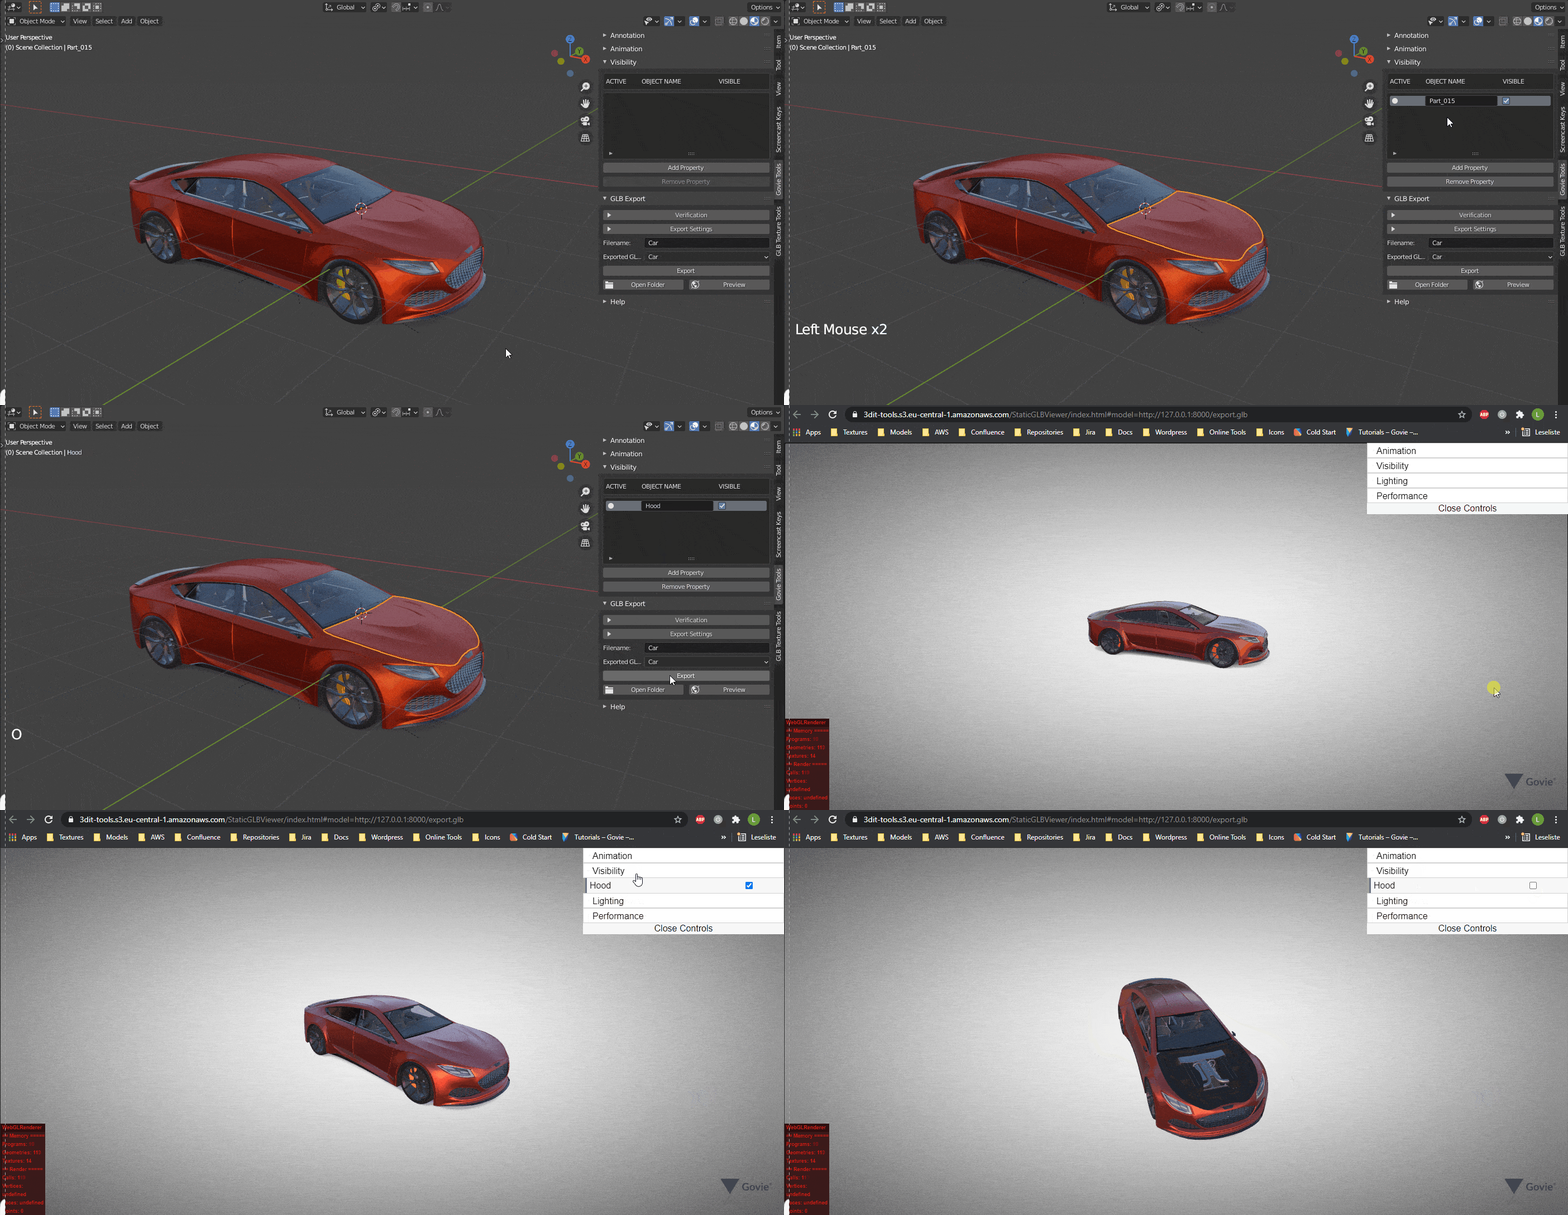
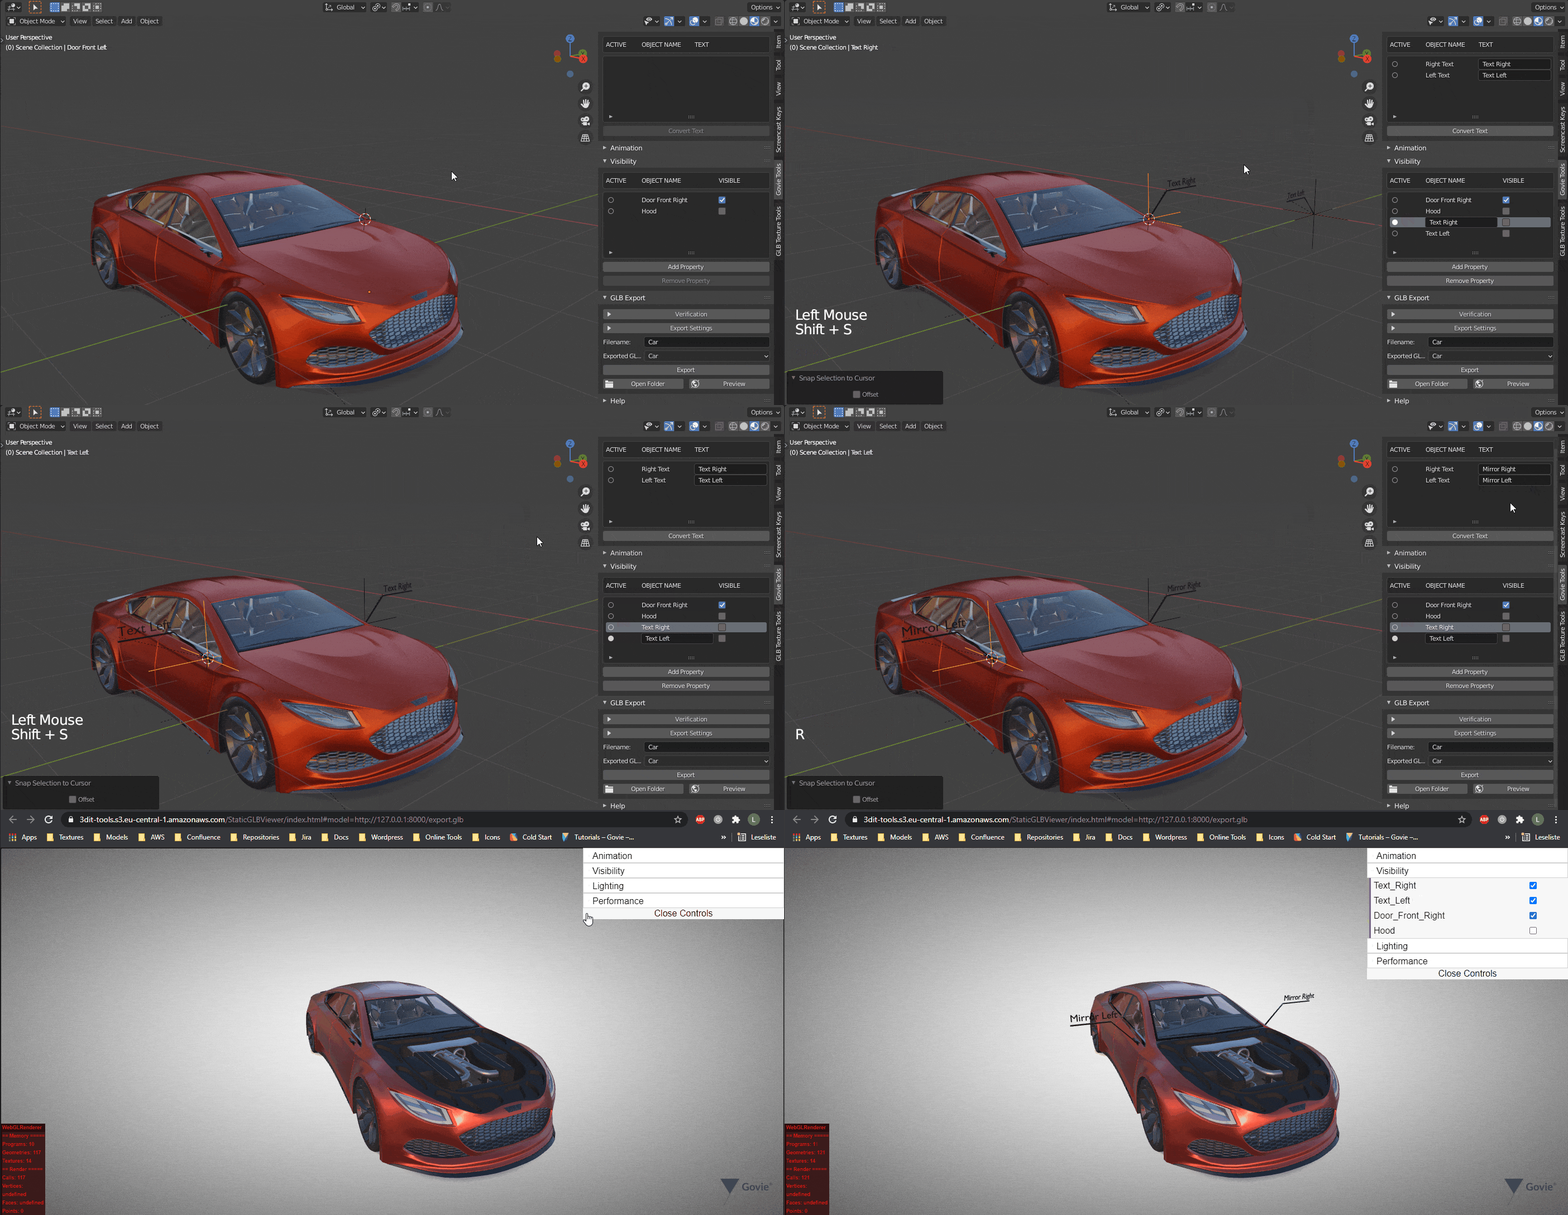
The Visibility property can be used to set the visibility of an object in Govie. In the preview, function and naming can be quickly checked.
Visibility
-
Select the object in the scene and click Add Property in the Visibility menu.
-
after the export, the entered file name appears as the current entry in the drop-down list
-
in the preview you can now test the visibility
-
if everything is correct, the file can be uploaded later to the Govie platform
If visibility is set for a parent object, this also affects the child objects. Empty objects can thus be used to create visibility groups that can be used to hide or show several objects at the same time.
Visibility - Groups
-
Create Empty object, which serves as a helper object for grouped objects
-
select the desired objects and finally the Empty object
-
with CTRL+P you can now create a parent-child relationship
-
finally all objects are selected and exported
-
alternatively, the whole scene can be exported if select only has been deactivated in the export settings
The animation menu provides a direct overview of all animated objects. Here you can easily edit the identifiers of the objects and their animations.
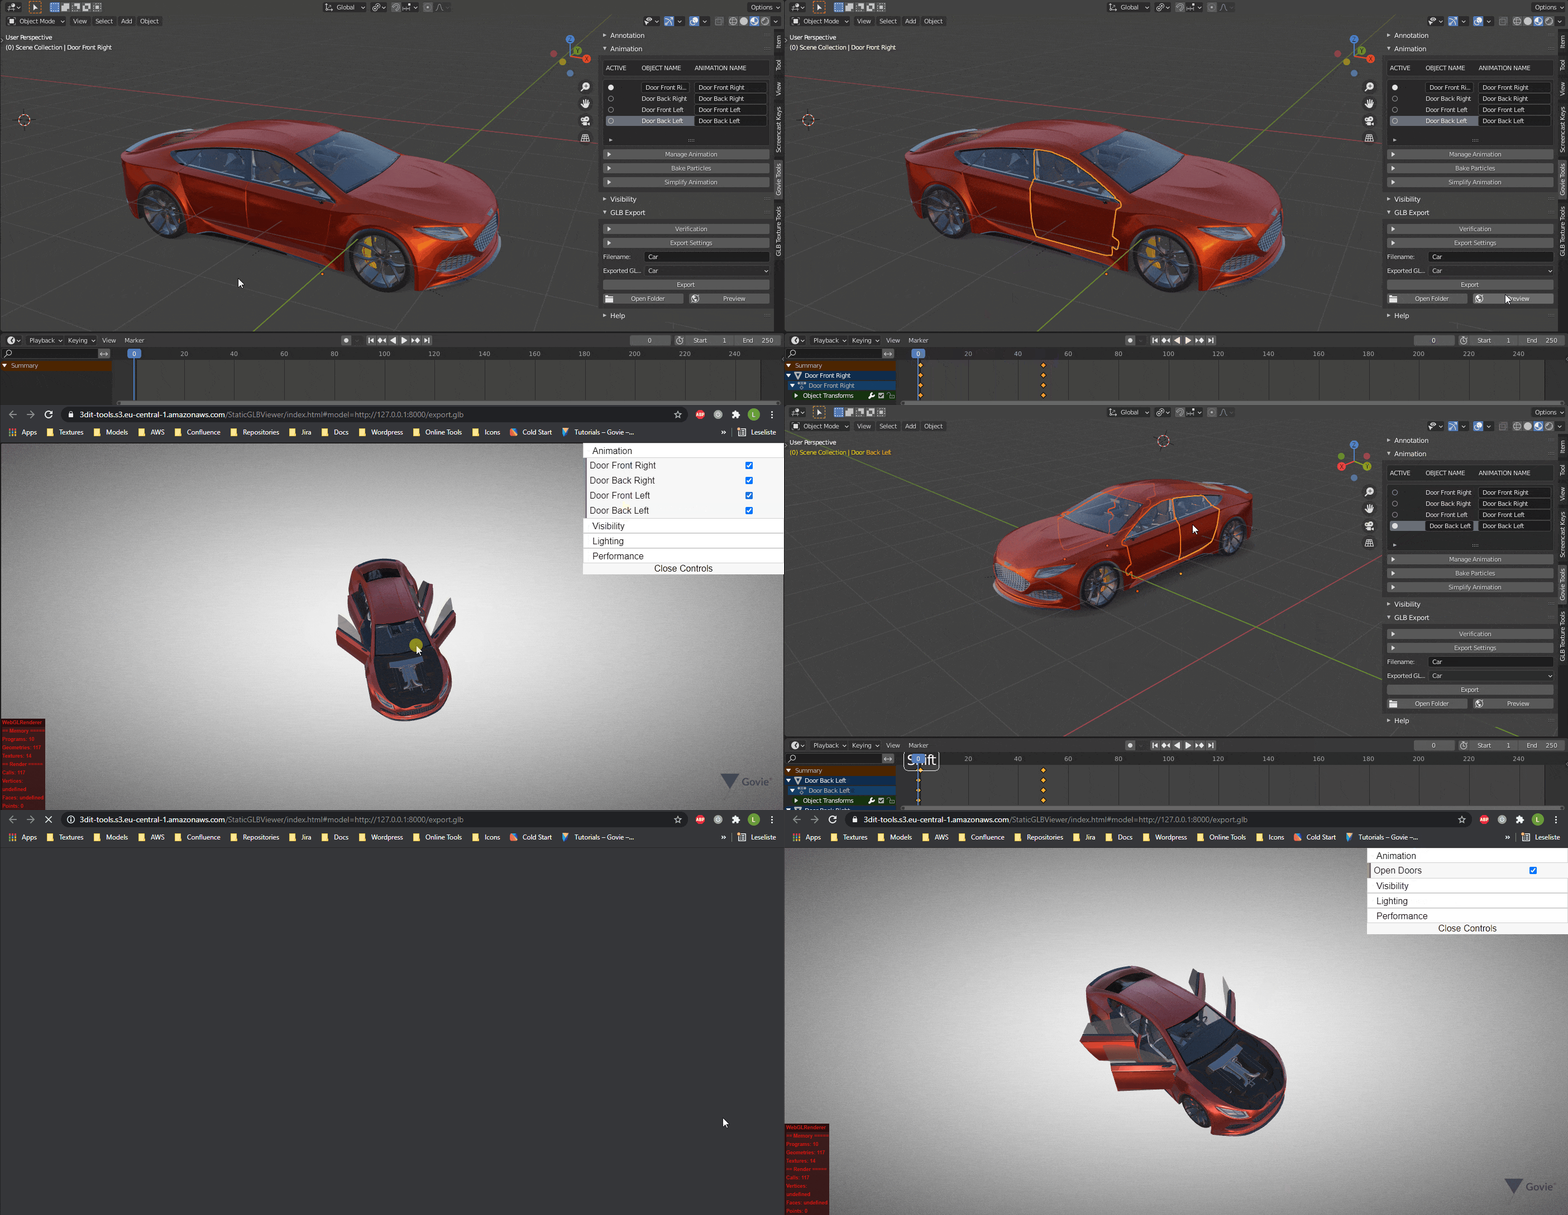
In addition, animations can be combined and dissolved again. The dynamic display contains only animations of the currently visible objects. Particle systems can also be beaconed and simplified via keyframe reduction.
Animation
Multiple animations can also be easily merged, renamed and split again.
Animation - Join
-
several animations can be combined to one NLA track
-
to do this, select all objects whose animations are to be combined
-
open the Manage Animations menu and join the animations with Join Animation
-
with Rename Animation the combined animation can be renamed
-
with Seperate Animation the merging can be undone
UV animations can be used to move textures on a surface.
Animation - UV Animation
You are currently viewing a placeholder content from YouTube. To access the actual content, click the button below. Please note that doing so will share data with third-party providers.
More Information- download the following file for testing
UV_Animation
- Assign material
- if no UV has been assigned for object yet, Unwrap must be performed
- Move UV map in X or Y direction to test correct direction
- Create Empty
- Create Custom Property
- The name of the property is uvAnim, the value is the name of the object whose UV is to be animated.
The annotation menu provides a compact overview of all texts in the scene. In the following file you can find a predefined text object, which can be added to the current project: Annotation_Text
Add Description
GLB TEXTURE TOOLS
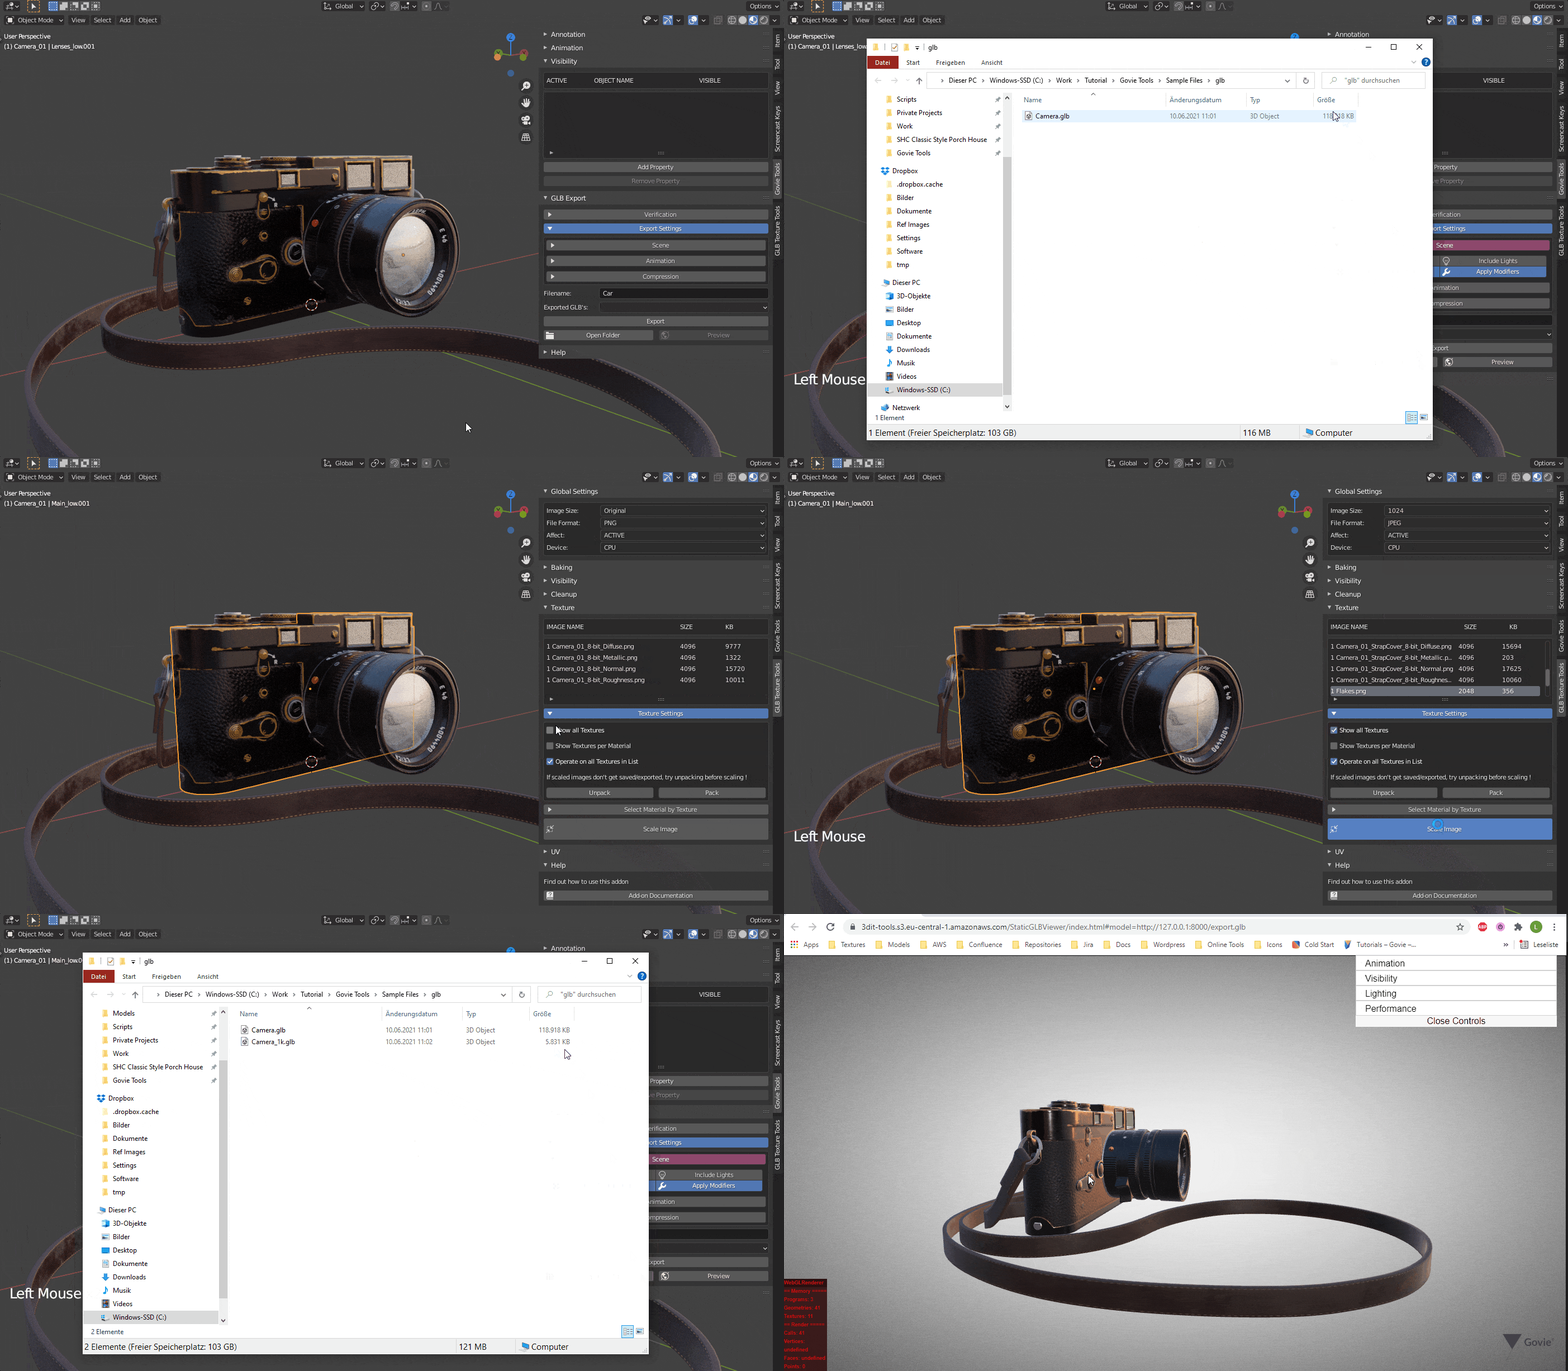
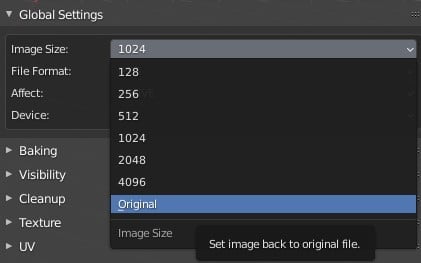
To reduce the file size, Draco compression is sometimes not enough. Draco essentially reduces the model geometry. If large textures are present, they must be reduced separately.
Scaling Textures
-
Open the
Textures
Menu -
textures for the selected object are displayed here
-
the Show all Textures option allows you to display all textures in the scene
-
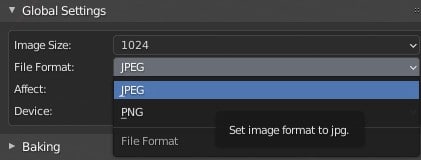
in the Global Settings you can now set the target resolution and the file format
-
after a click on Scale Image the textures are converted
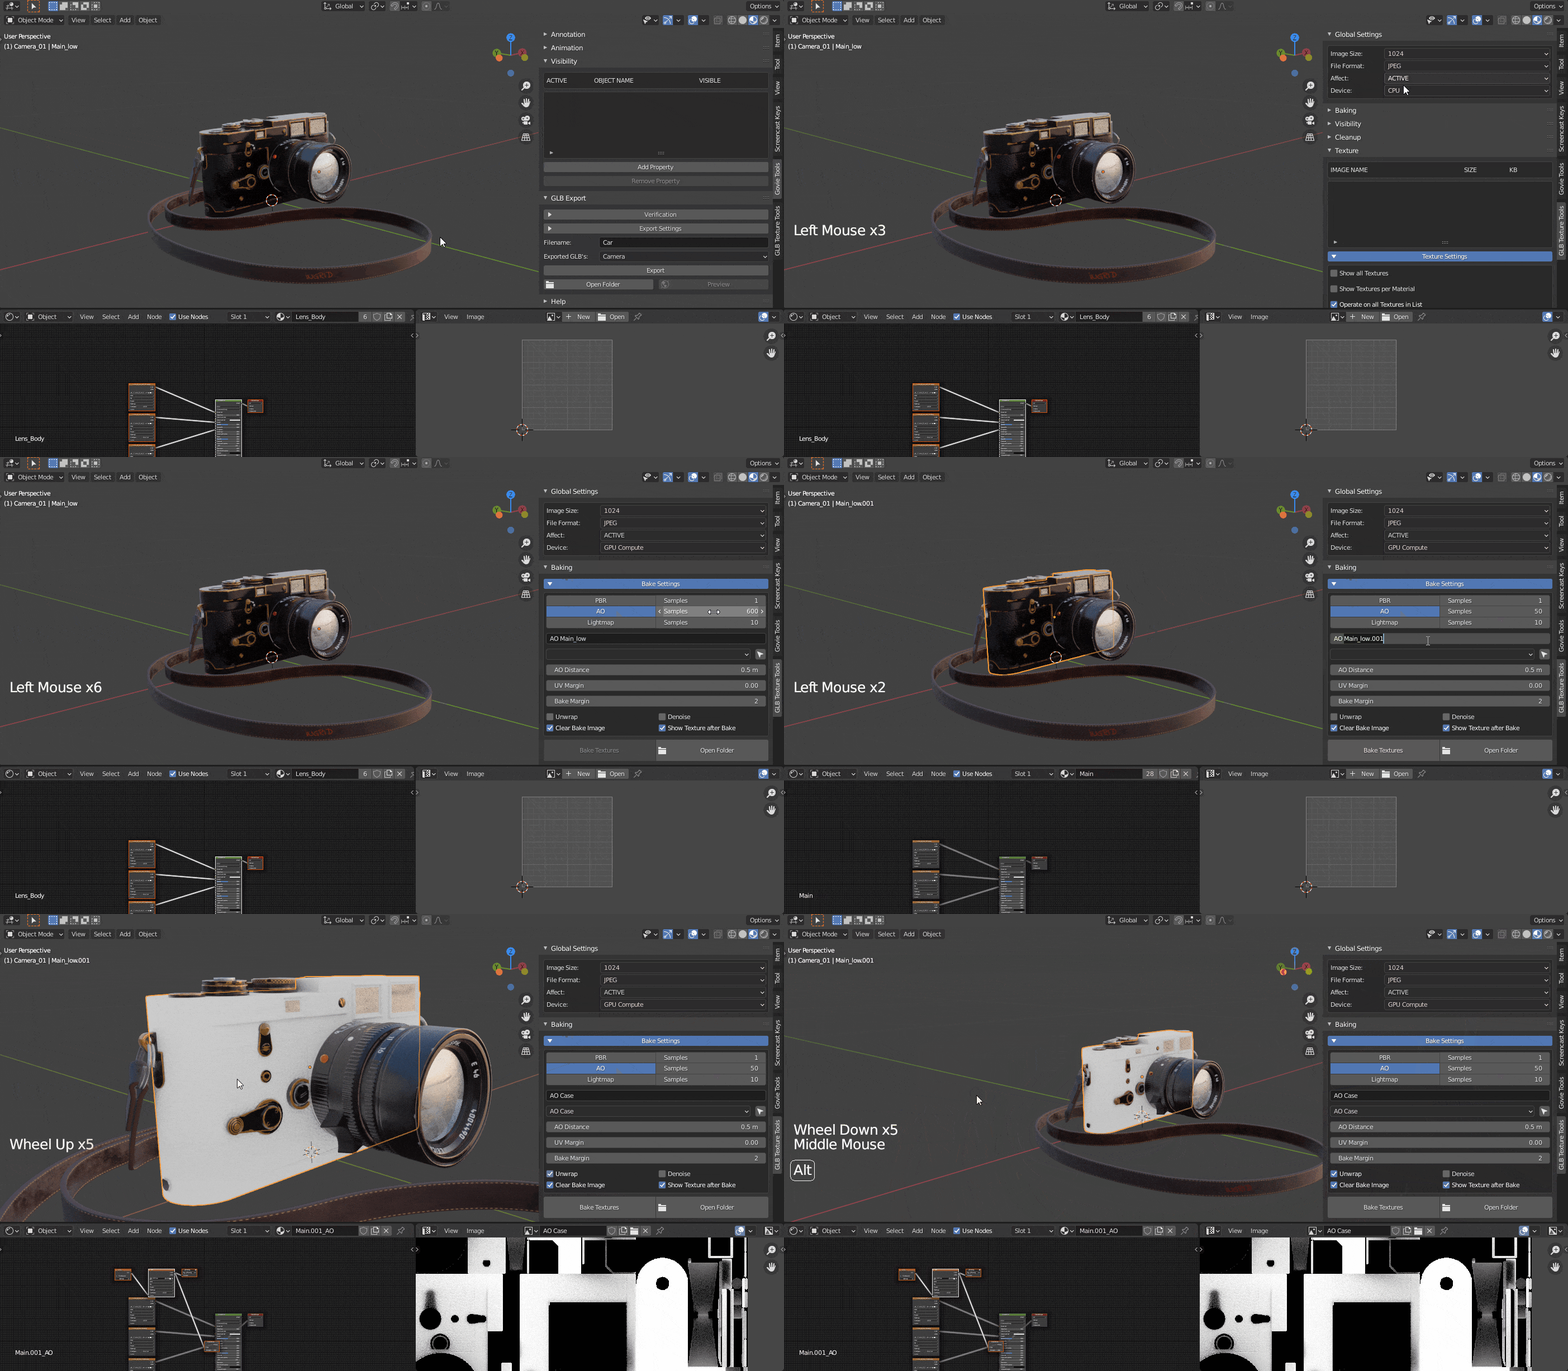
AO maps can be created by clicking on the Bake Textures button. After beaconing, the addon automatically creates a new node setup in your material that allows to include the AO map into the GLB file.
Baking AO
-
Set desired resolution and file format
-
Set Sample Rate for AO Baking (start with low value for testing)
-
Select Unwrap if no second UV is available yet
-
if necessary assign name for AO map (autogenerated identifier is AO + object name)
-
Click Bake Textures
-
if Show Texture after Bake is active, the baked AO map is displayed directly in the viewport
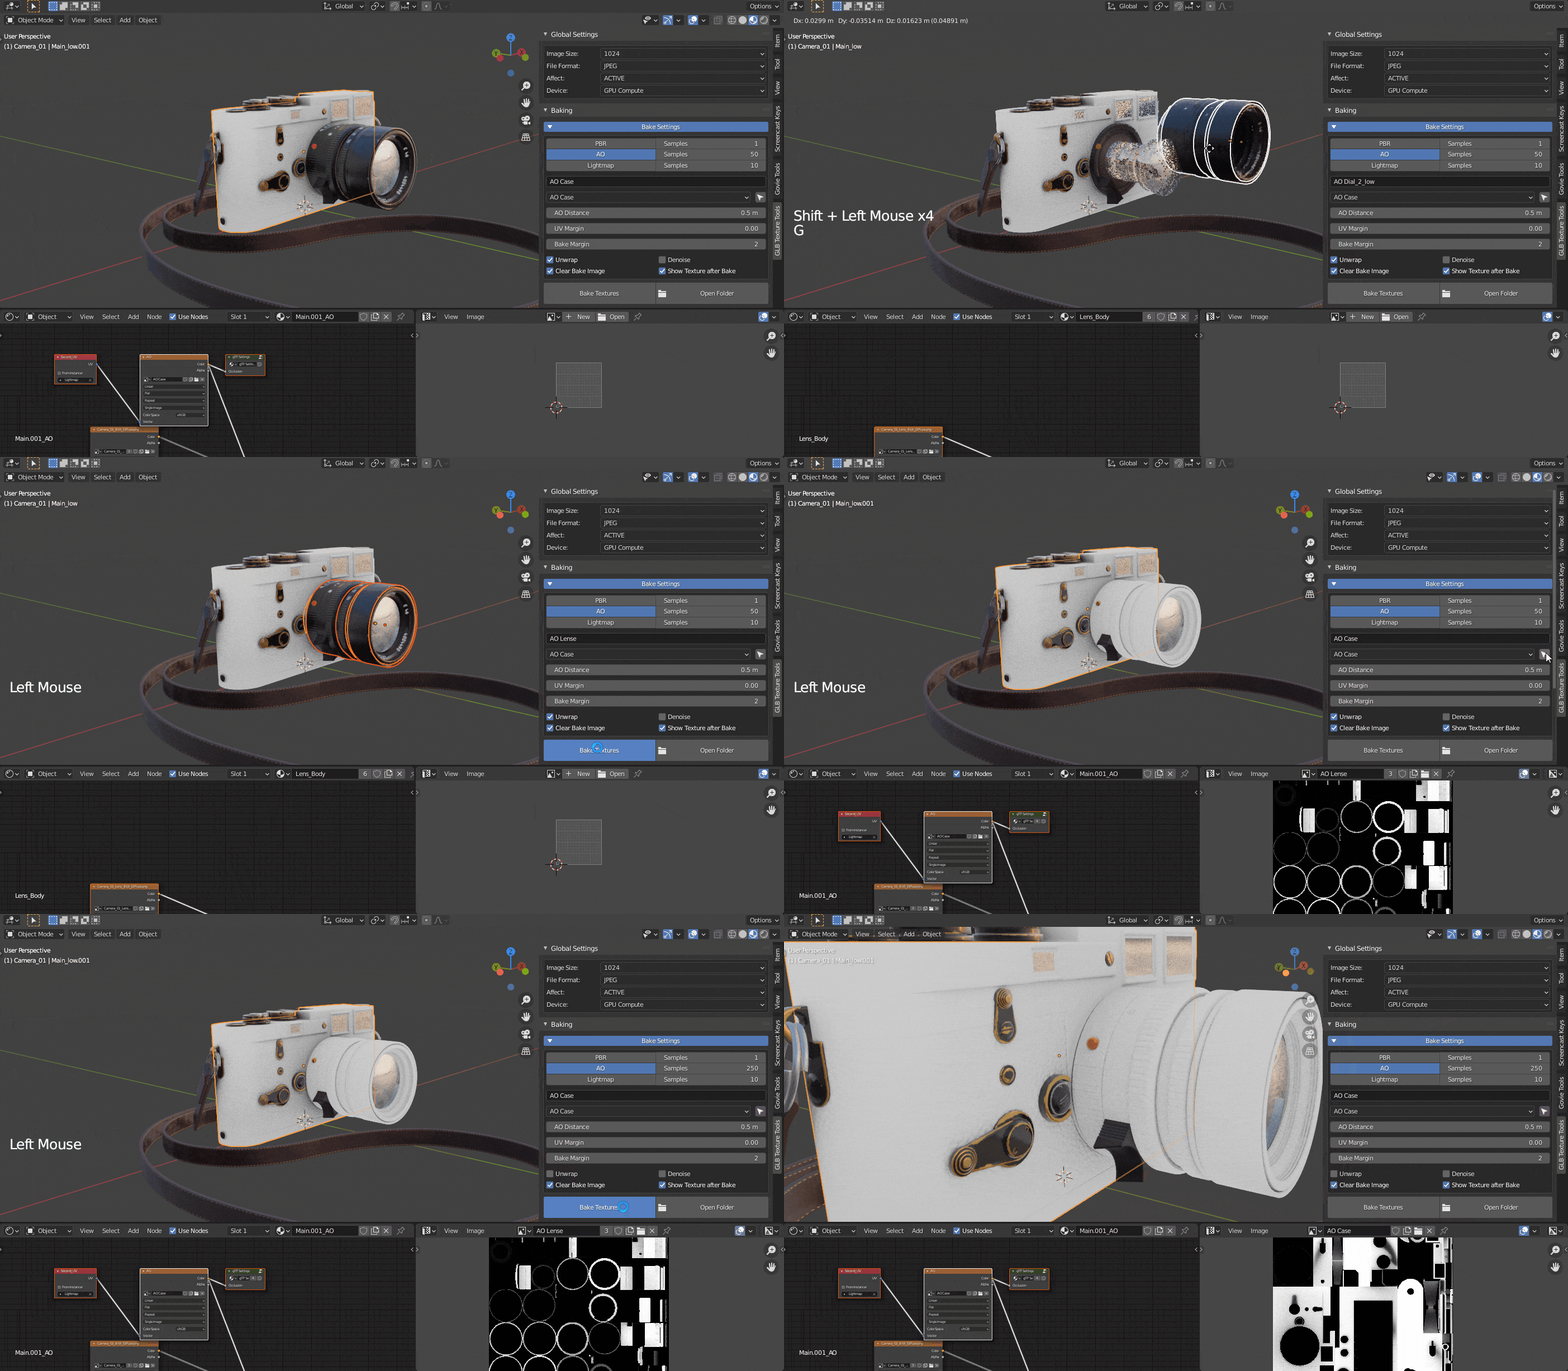
For each baked AO or lightmap a separate group is created, which can be selected again later. This way, an individual texture size can be used for different objects.
Baking AO - Grouping
-
by selecting further objects and then beaconing, further AO groups can be created
-
the group can be selected using the dropdown menu
-
clicking the mouse cursor selects all objects of the respective group
-
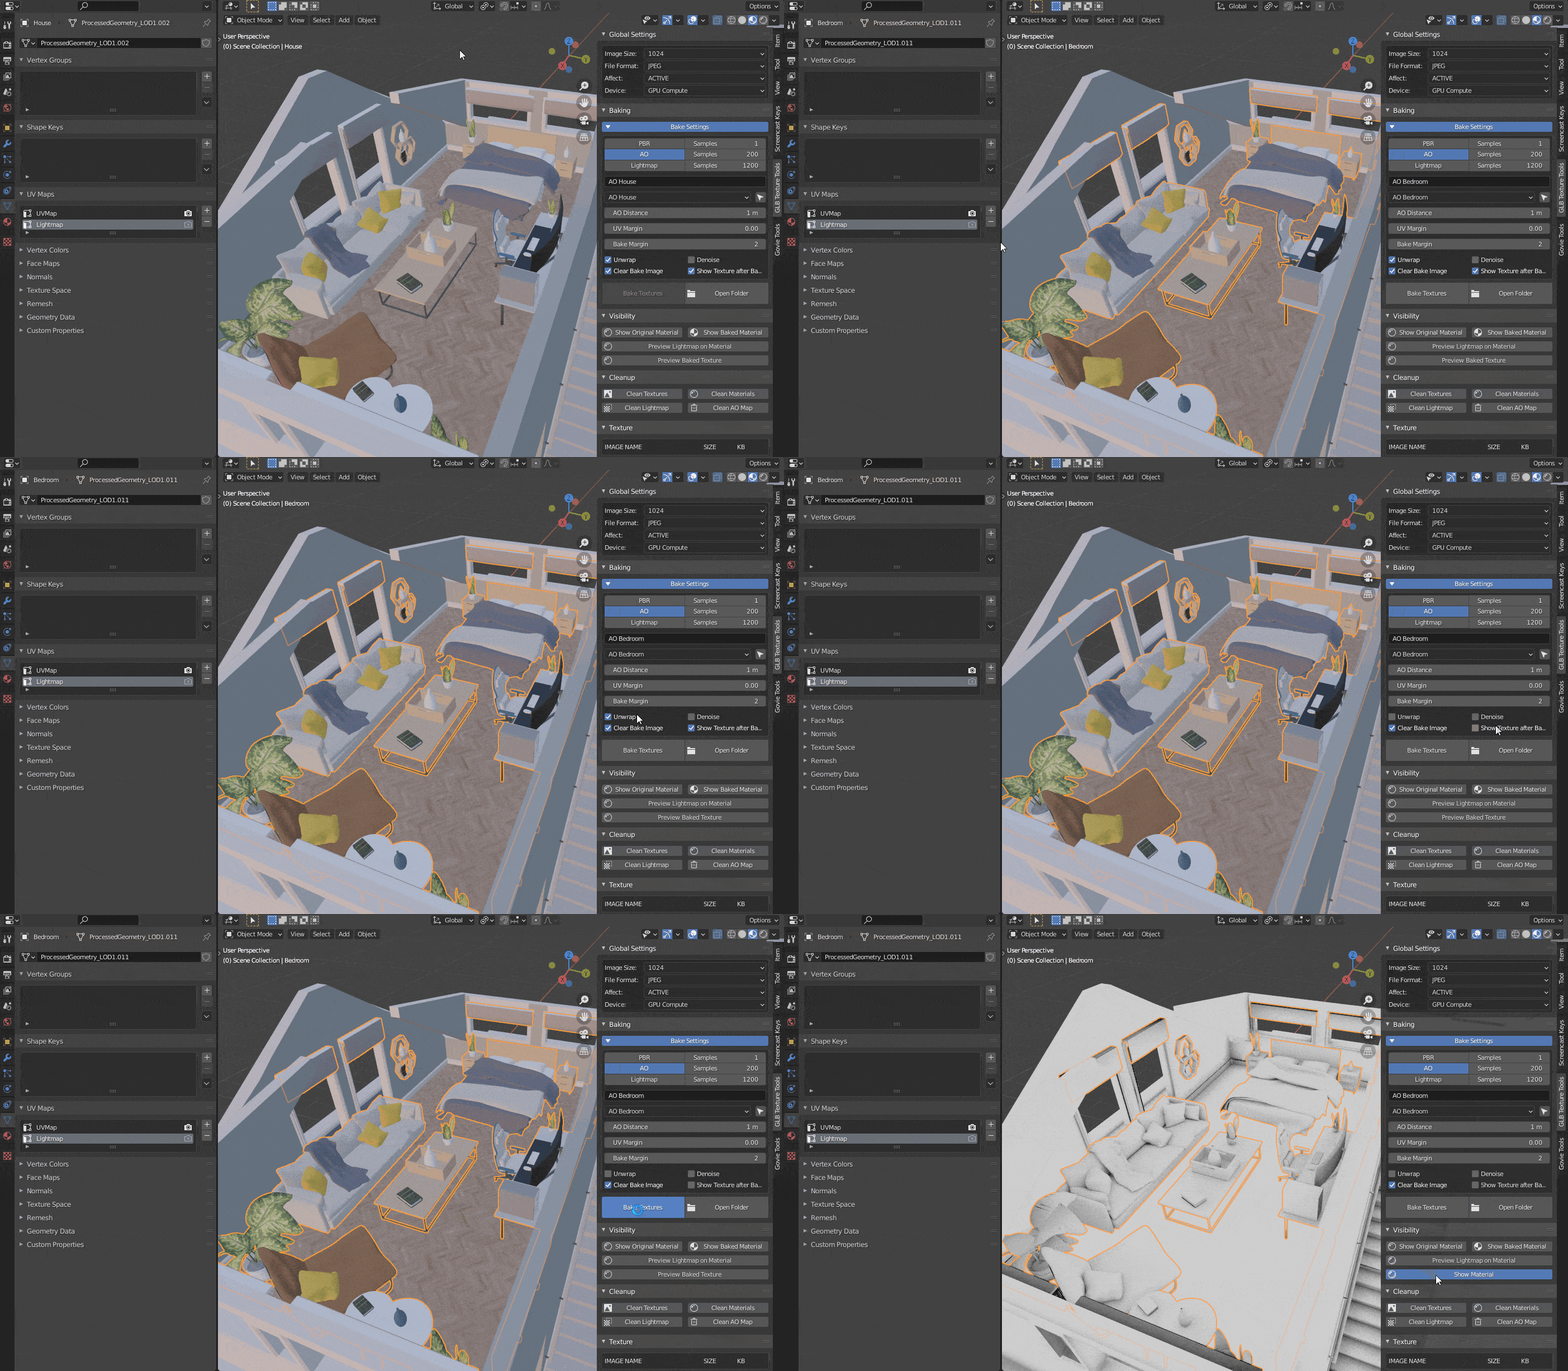
if an object has already been unwrapped, the unwrap checkbox can be deactivated
-
for finalization the sample rate can be increased until the desired quality is reached
If a UV map has already been created, the beaconing can be done without an additional unwrap.
Baking AO - No Unwrap
Detailed documentation of the menu items
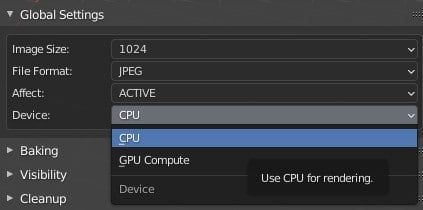
Global Settings
As the name suggests, these settings affect many other functions of the add-on
Bake Settings
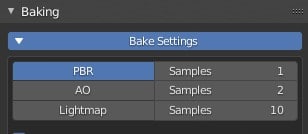
In the Baking menu, the first step is to select the Bake Type
Beacon types
Within the beacon settings there are 3 different beacon types:
Physical Based, Ambient Occlusion and Lightmap Bake
The number of samples can be set separately for each beacon type. The higher the value the better the end result, but the longer the waiting times!
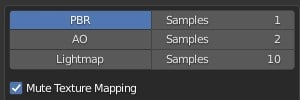
PBR Beacon
Allows you to convert Blender custom node setups to GLB format (e.g. color ramps, RGB curves, procedural textures). The sample value can usually be left at 1, but a higher value is recommended for beacons of procedural textures.
Mute Texture Mapping – disables all texture mapping nodes for the duration of the beacon process and should be enabled by default.
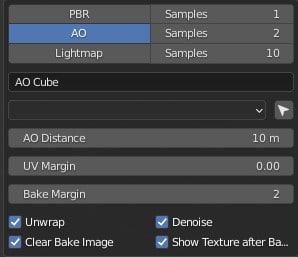
Ambient Occlusion Beacon
This can be used to create AO maps for individual objects and groups of objects.
AO Distance – defines the size of the ambient shadow
A good value is between 0.1 and 1m and causes much less noise
UV Margin – determines how much space is left between each UV.
Bake Margin – when beaconing, n pixels (here 2) are baked beyond the UV boundary.
Unwrap – defines whether to create a new UV with the Lightmap identifier.
Denoise – uses a Bilateral Blur to blur the AO map.
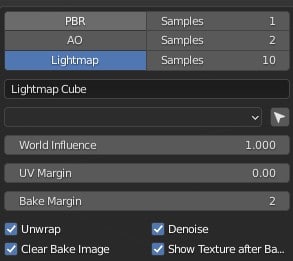
Lightmap beacon
Lightmaps are integrated into the existing material as an emission node. The Govie Editor then inserts the lightmap into the designated Image Channel.
Tip –deactivate the camera light in the viewer or the diffuse light in the finished govie so that the lightmap becomes more visible
Denoise – uses an AI-based approach to create a noise-reduced lightmap from color, normal, and direct-diffuse maps
Show Texture after Bake – the baked texture is displayed on the object via Emisson Shader
Visibility
The Visibility menu is used to switch between original and newly created baked material. The display depends on the selected beacon type (PBR, AO, Lightmap) and the Affect setting in the Global Settings.
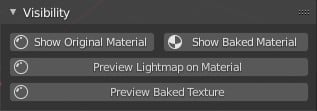
Show original material – a baked material is available (with “Bake” in the material name), the system switches back to the original material.
Preview Bake Material
Previously baked AO and lightmaps can be previewed before the model is exported.

